
ON THIS PAGE
- Take a photo from the map
- Draw on a photo and add a note
- Photo stamp options
- Save to device or drop as a flag
- Add a photo to a flag chat
- View all project photos — app gallery
- View and download photos — Portal
- License and permission requirements
- Video Demo
Take a photo from the map
The camera icon lives in the bottom-right toolbar of the map. Tap it to open the OnStation camera — your station and alignment are captured the moment you take the shot.
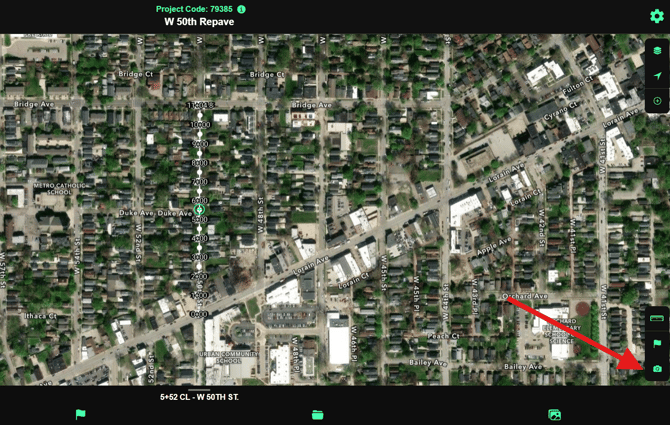
1. Tap the camera icon Bottom-right of the map screen, below the flag icon.
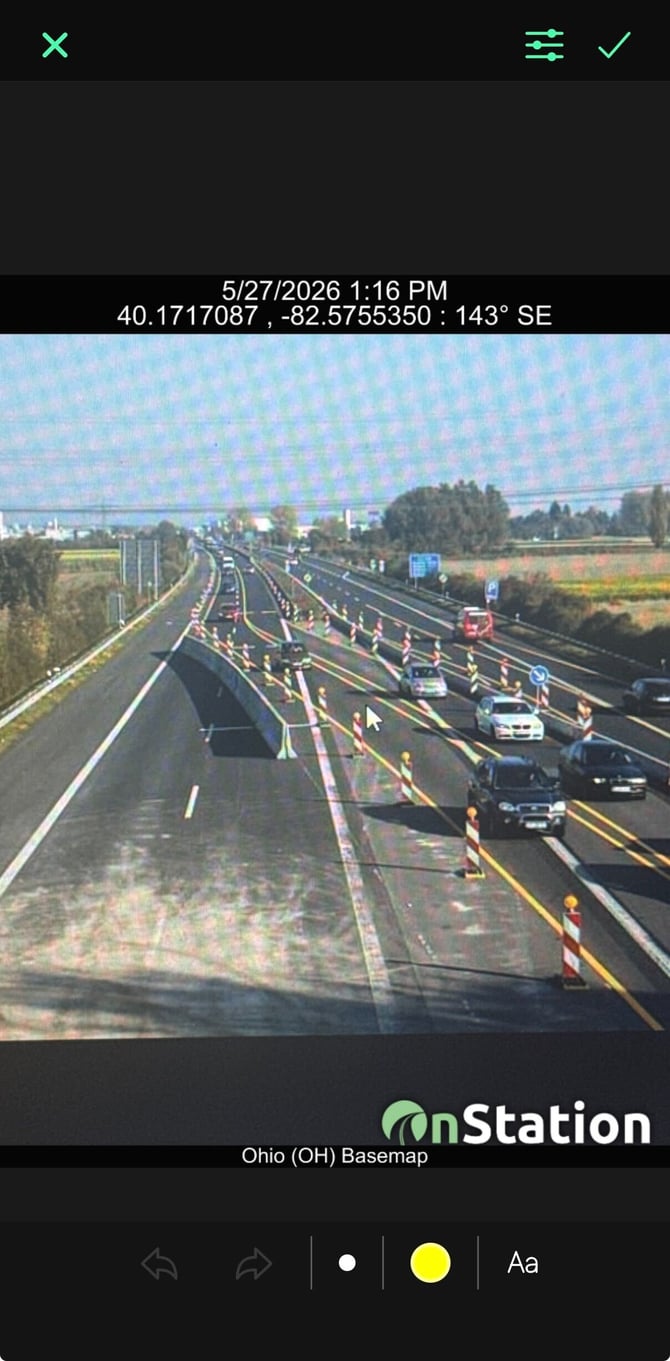
2. Take the photo Frame your shot and tap the shutter. When you're happy with it, tap the green checkmark.
3. The stamp appears automatically Date, time, and location are burned into the top of the photo. You didn't have to do anything — it's already there.
Draw on a photo and add a note
Before saving, you can mark up the photo to call out what you're documenting. Two tools: draw and text.
|
Tool |
What it does |
How to use it |
|
Draw |
Freehand markup on the photo |
Tap the circle dot to choose brush size. Tap the color dot to choose color. Draw directly on the image. |
|
Text (Aa) |
Add a typed note to the photo |
Tap Aa, type your note, tap Save. The note appears at the top of the photo. |
|
Undo / Redo |
Step back or forward through edits |
Arrows at the bottom left of the editor. |
|
Delete |
Remove all markup |
Trash icon at the bottom right. |
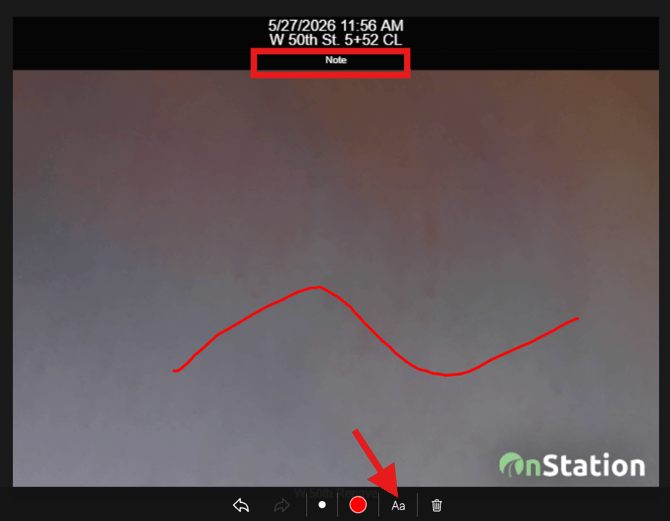
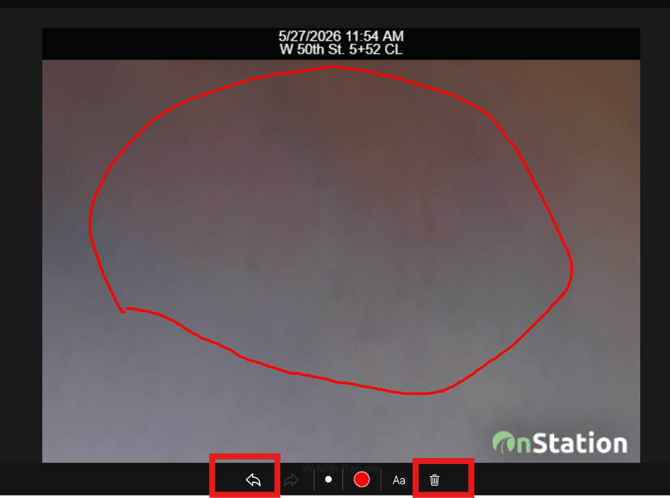
Photo stamp options
Tap the selectors menu (top right of the photo editor) to control what additional information appears on the stamp.
|
Option |
What it adds |
|
Show direction |
The compass direction you were facing when you took the photo. |
|
Show project name |
The project name stamped on the photo. |
|
Show user location |
GPS latitude/longitude coordinates of where you were standing — separate from the station. |
The station stamp is always on. The options above are additions — use them when the extra context matters for documentation or a future dispute.
Save to device or drop as a flag
When you're done editing, tap the checkmark at the top right. You'll be given two choices — you can do one or both.
|
Option |
What happens |
|
Save to device |
The photo saves to your phone's camera roll with the stamp baked in. |
|
Drop as a flag |
A flag is dropped at your crosshair location on the map. The flag icon defaults to the photo icon. The flag title defaults to your username, date, and time — both can be edited from the flag details menu (three-dot menu → Edit Title or Edit Flag Icon). |
If you drop the photo as a flag, it lands where your crosshairs were on the map — not necessarily where you're standing. Make sure your crosshairs are where you want the flag before you shoot.
Add a photo to a flag chat
Every flag has a Chat tab. You can attach a photo to any message in the thread — either a new Camera Note or a photo from your device gallery.
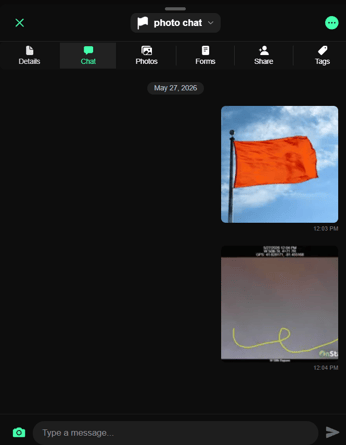
1. Open the flag and tap the Chat tab The chat thread is where messages, photos, and replies live.
2. Tap the camera icon at the bottom left of the chat This opens your two options.
3. Take a photo or choose from gallery Taking a photo works the same as the map camera — you can draw, add a note, and choose stamp options before saving. Choosing from your gallery skips the camera entirely and attaches an existing photo.
- When uploading photos from your gallery, you can select more than one at a time. Tap the + button in the photo tray to add additional photos. You can upload up to 20 photos at a time in a single flag chat message.
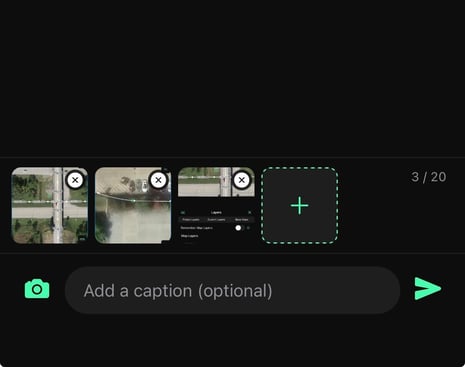
Heads up: Photos added from your phone gallery will NOT have a station, date, or time stamp. Only photos taken inside the OnStation app get the automatic stamp. If documentation matters, take a new Camera Note rather than uploading from gallery.
View all project photos — app gallery
You don't have to open individual flags to find photos. The project gallery shows every photo on the project shared with you in one place.
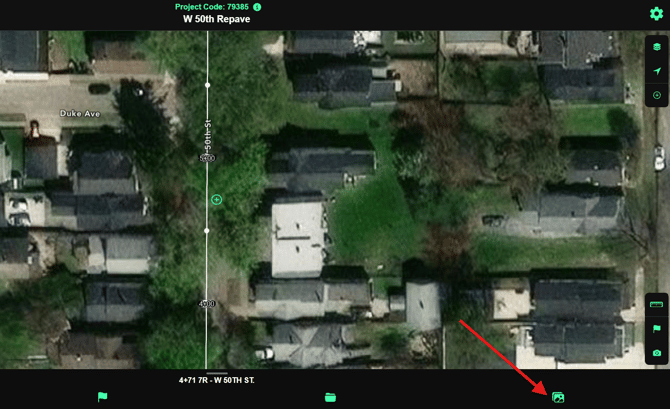
1. Tap the gallery icon in the bottom nav The photo icon on the far right of the bottom bar — next to the flag icon.
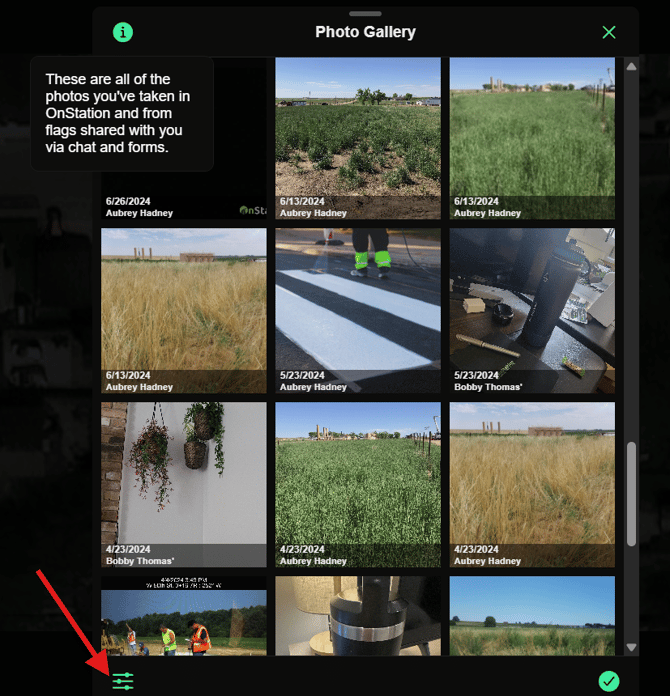
2. Browse the project gallery All photos on the project appear here — date and user shown on each thumbnail.
3. Filter if needed Tap the Image Filters menu at the bottom left to filter by date range, user, or other criteria.
4. Tap a photo to see its details and download it Opening an individual photo shows its full details. Tap the download icon at the top left to save it to your device.
 View and download photos — Portal
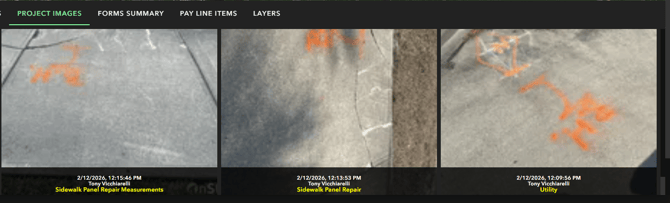
The Portal's Project Images tab gives you every photo on the project with filtering and bulk download options. This is where admins and data managers go to pull photos for reports, closeouts, or export packages.
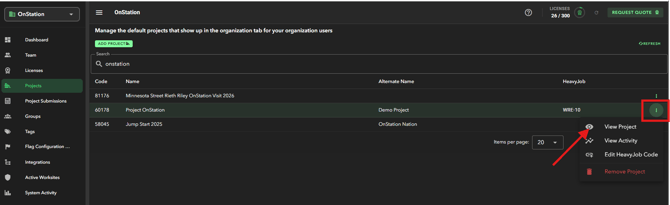
1. Log into the Portal and open your project portal.onstation.us/login → Projects → View.
2. Select the Project Images tab Sits alongside Dropped Flags, Forms Summary, and other tabs at the top of the project.
3. Filter if needed Use Image Filter Options to narrow by date range and/or user.
4. Download All Images or Select Images Download All grabs everything currently showing. Select Images lets you pick specific photos. Both options download as a zip file to your computer.
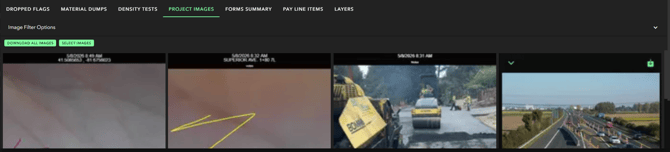
Photos attached to flags via a form are included in the Project Images tab and in flag/form exports. If you're exporting a flag as PDF and don't want photos included, deselect photos when choosing PDF export options.
License and permission requirements
|
What you want to do |
License needed |
|
Take photos and drop flags in the app |
Capture or Data license |
|
View the project gallery in the app |
Capture or Data license |
|
View photos on a shared flag in the app |
Capture or Data license |
|
View Project Images in the Portal |
Data license + Admin or Data Manager permissions |
|
Download photos from the Portal |
Data license + Admin or Data Manager permissions |
Video Demo
Have more questions? Need help with this feature? Reach out-we're here to help!
Support: (216) 503-8554 · help.onstationapp.com · Sales: (877) 641-1188